Welcome to Weaverse
Transform your Shopify store with Weaverse Hydrogen - the modern solution for building fast, customizable storefronts. This guide will help you get started with your first Weaverse project in minutes.
Try the Weaverse Playground
Want to explore before installing? Visit our interactive Playground to experience Weaverse's features firsthand. Watch our quick demo:
Install Weaverse
- Go to Weaverse on Shopify App Store
- Click "Add app"
- Follow the installation prompts

Create Your First Project
1. Start a New Project
In your Weaverse dashboard, click "Create New Project" to begin.

2. Choose Your Theme
Select from our Hydrogen starter themes. We recommend our free "Pilot" theme - it's packed with essential features and best practices.

3. Preview and Configure
Use the Preview URL to explore your theme before proceeding. When ready, click "Start Setup".

4. Choose Your Path
Pick the option that suits your needs:
- For Developers: Use our CLI command to create and run your project locally
- For Store Owners: Follow our simple deployment guide to launch without coding. See our deployment guide for details
5. Connect Your Development Server
After setup:
- Run your local server (default URL:
http://localhost:3456) - Enter your preview URL in the dashboard
- Click "Next" to proceed
Tip: You can update your Preview URL anytime in Project Settings:
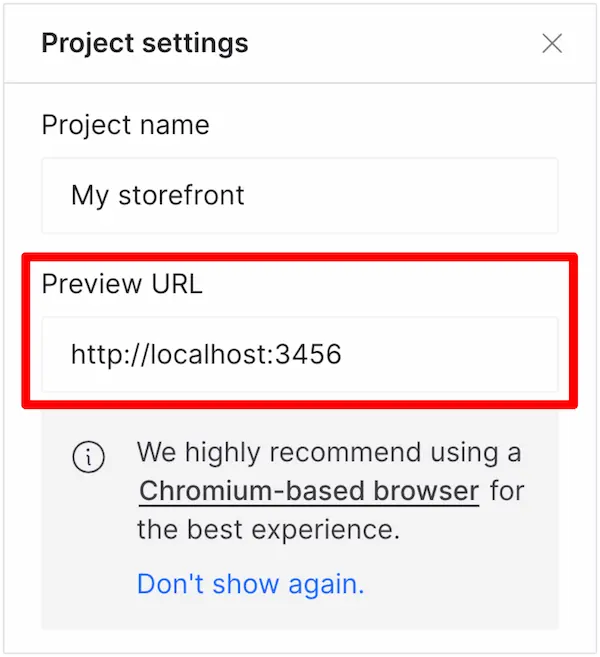
💡 Note: For the best experience, use a Chrome-based browser. Some features may be limited in browsers like Safari when working with localhost.
6. Start Customizing
Our visual editor mirrors Shopify's familiar interface, making it easy to:
- Add and arrange sections
- Customize components
- Adjust layouts and styles
- Preview changes in real-time
Next Steps
Ready to dive deeper? Learn how to build custom themes and components:
👉 Build Your First Weaverse Hydrogen Theme